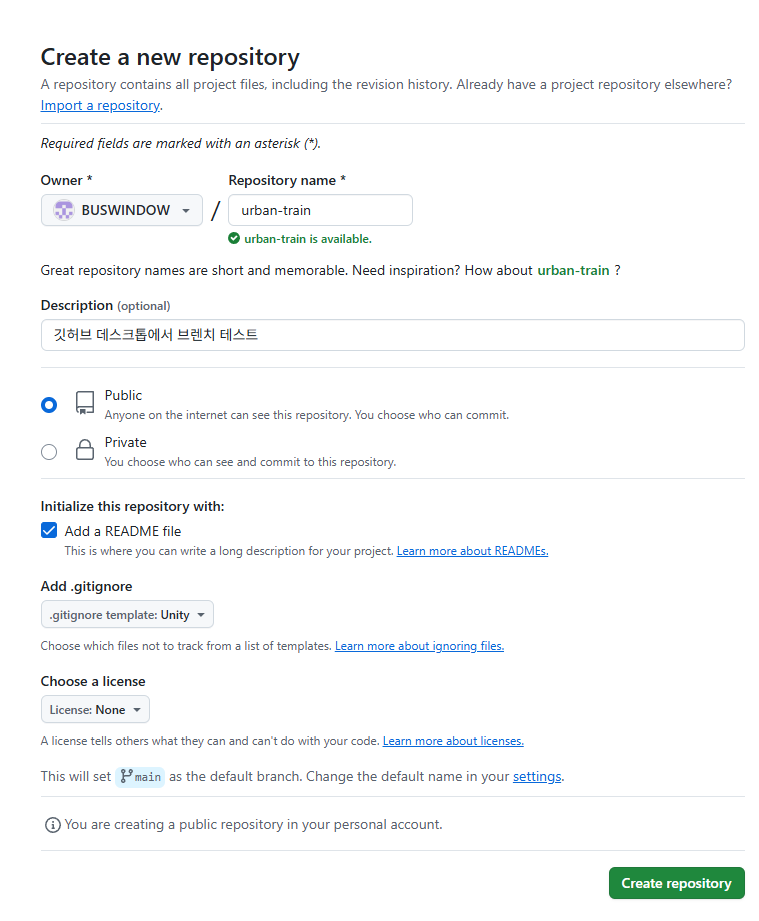
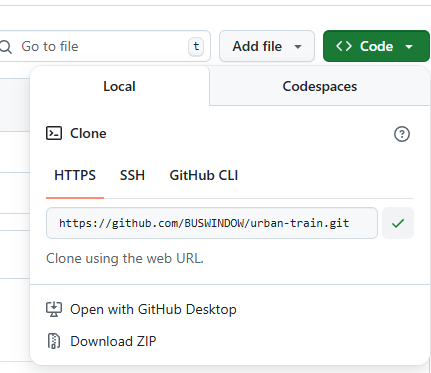
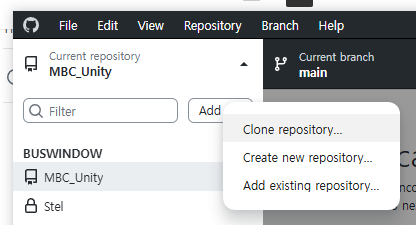
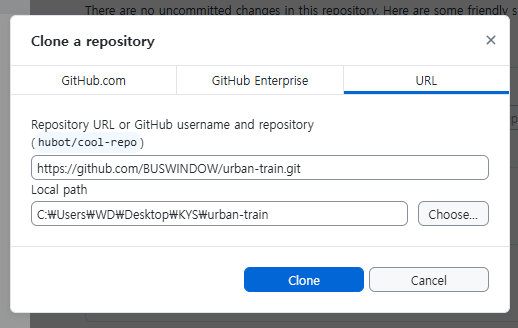
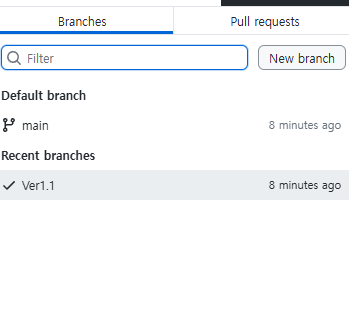
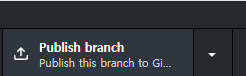
이거 눌러야 온라인에서도 브랜치 만든게 보임
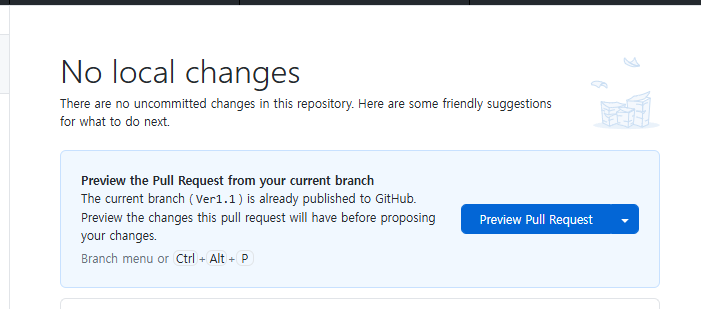
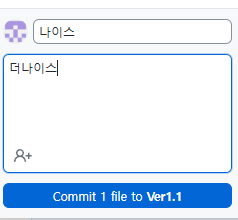
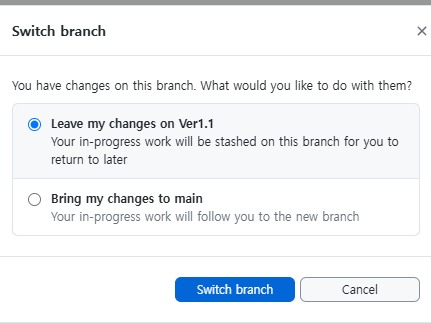
Leave하면 로컬에서도 사라짐
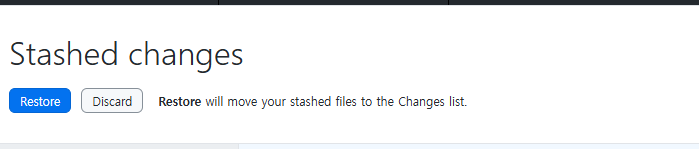
이거 누르면 로컬에서 돌아옴
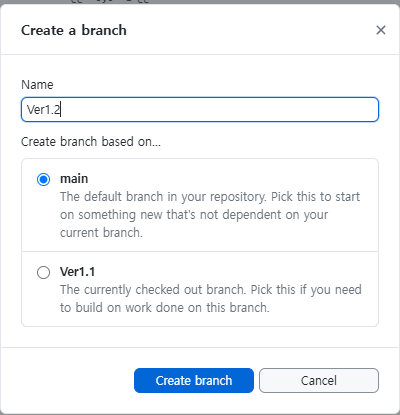
ver 1.1 기반으로 할거냐 main 기반으로 할거냐
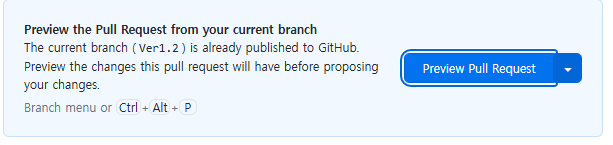
merge전에 검토받는 느낌
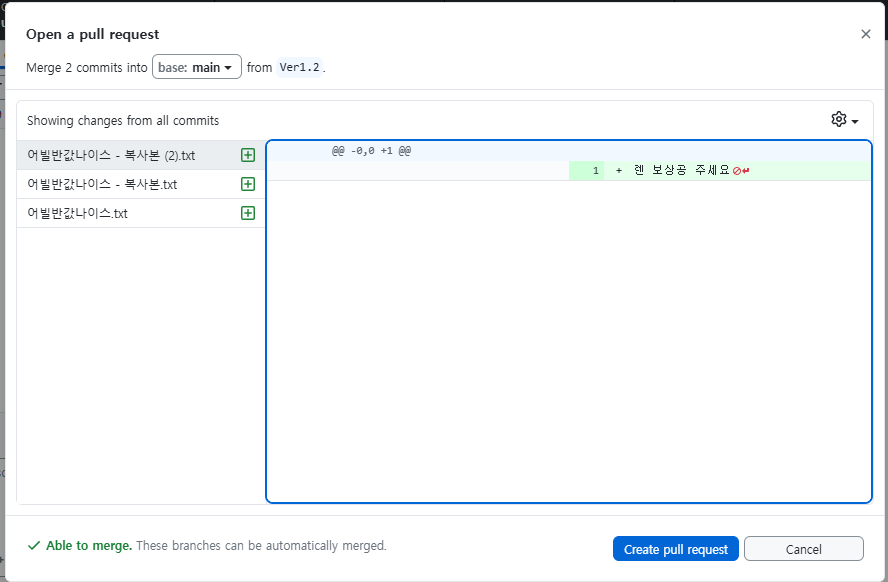
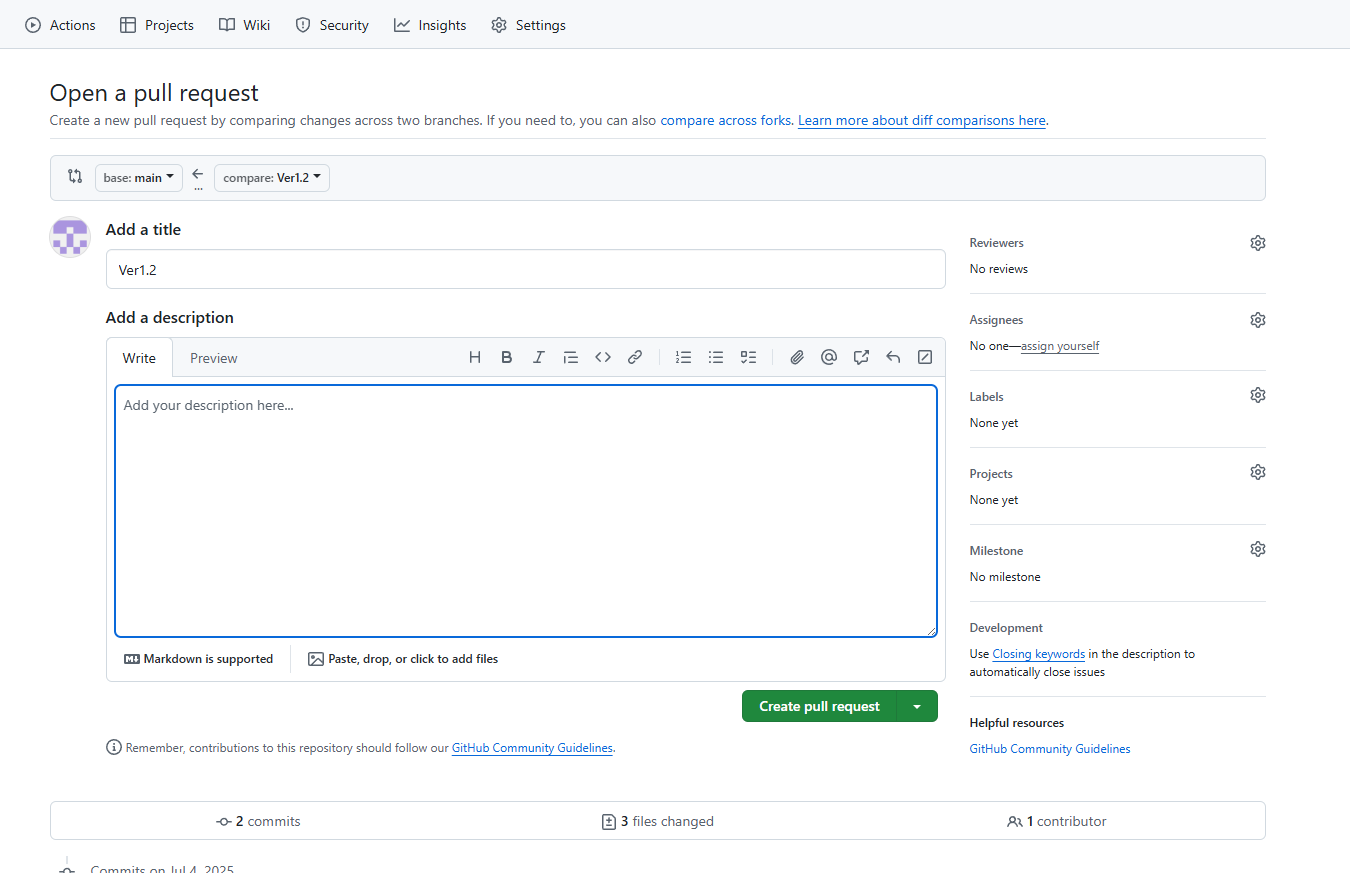
create누르면 홈페이지로 와짐
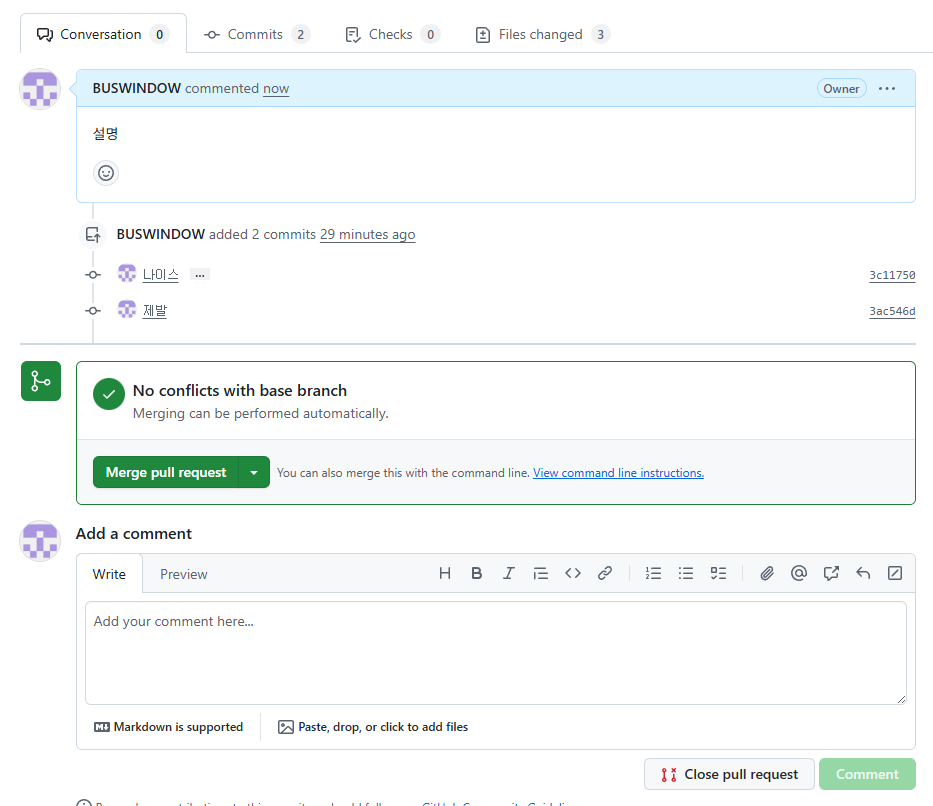

이런 Branch기능은 누가 할지 미리 권한을 정할수있다
__________________________________________________________________________________
using System;
using System.Collections;
using System.Collections.Generic;
using Cinemachine;
using UnityEngine;

public class AICarWait : MonoBehaviour
{
    private AICar carCtrl;
    public CinemachineBlendListCamera BlendCam;
    private void Awake()
    {
        this.carCtrl = GetComponent<AICar>();
        this.carCtrl.enabled = false;
        StartCoroutine(this.WaitForSec(() =>
        {

            this.carCtrl.enabled = true;
        }, 1));

    }


    IEnumerator WaitForSec(Action act , float sec)
    {
        yield return new WaitForSeconds(sec);
        while (this.BlendCam.LiveChild != this.BlendCam.ChildCameras[1]) //카메라가 다음걸로 바뀌면 이하 실행
        {
            yield return null;
        }
        act();
    }
}
돌리 트랙이 도착하고 난 뒤에 다음 카메라로 바뀌는 로직을 넣으면 더 깔끔한 구조로 만들수 있는데, 카메라의 위지를 받고 마지막 트랙의 종점 위치도 따로 잡아야 될거같다
내부 구조에선 딱히 받아올 방법이 없는것같다.
CinemachineSmoothPath _smoothPath;
this._smoothPath.m_Waypoints
이런 느낌으로 마지막 좌표 얻어내고, 돌리 따라가는 카메라 따로 받아서 그 둘의 좌표가 같아졌을때,
이벤트를 발생시키면 될것같다.
______________________________________________________________________________
카메라 플레시라이트
F누르면 플래시라이트 켜짐
전진할시 백라이트 초록색
후진할시 백라이트 빨간색
비상 정지시 불 다 꺼짐
public class PlayerCarLight : MonoBehaviour
{
    [SerializeField] private GameObject flashLightBundle;
    [SerializeField] private GameObject backLightBundle;
    [SerializeField] private Light[] backLights;

    public void FlashTurnOn_Off(bool? turn = null)
    {
        if (turn == null)
            this.flashLightBundle.SetActive(!this.flashLightBundle.activeSelf);
        else
        {
            this.flashLightBundle.SetActive(false);
        }
    }
    public void BackLightCtrl(bool turn, Color color = new Color())
    {
        this.backLightBundle.SetActive(turn);
        if (!turn)
        {
            return;
        }
        foreach (Light light in backLights)
        {
            light.color = color;
        }
    }
}


그 후 전진 후진할때(ctrl의 motorInput쪽 값에 따라 BackLightCtrl을 부르면 된다
F누르면 플레시라이트 켜지고


//////////////////////////////////////////////

if(this.motorInput > 0)
{
    this.lightCtrl.BackLightCtrl(true, Color.green);
}
else
{
    this.lightCtrl.BackLightCtrl(true, Color.red);
}


///////////////////////////////////////////


if (Input.GetKeyDown(KeyCode.F))
{
    this.lightCtrl.FlashTurnOn_Off();
}

이렇게
_____________________________________________________________________
차에 타고 내리기
플레이어가 차에 닿으면 탑승되고, 탑승한 상태로 e를 누르면 차에서 내림
따로 트리거 콜라이더를 붙임


public class PlayerCarRide : MonoBehaviour
{
    private PlayerCar carCtrl;
    private readonly string playerTag = "Player";
    private GameObject rider;
    void Start()
    {
        this.carCtrl = GetComponent<PlayerCar>();
        this.carCtrl.enabled = false;
    }

    private void OnTriggerEnter(Collider other)
    {
        if (other.CompareTag(this.playerTag)) //플레이어가 닿으면
        {
            this.rider = other.gameObject; //라이더쪽에 플레이어 넣어놓고
            this.carCtrl.enabled = true; //차 시동 켜고
            rider.SetActive(false); // 라이더를 우선 끄고
            rider.transform.SetParent(this.transform, false); //차쪽에 붙여둔다
            this.rider.transform.position += Vector3.right * 4;
            //좀 거리를 두고 내리게 해야 내리자마자 납치당하는 경우가 사라짐
            //그래서 탑승과 동시에 위치를 옮겨둔다
        }
    }
    public void GetOffCar() // 내리면
    {
        this.rider = null; //라이더 null로 바꾸고
        rider.transform.SetParent(null); //차에 붙여놨던거 밖으로 빼고
        this.rider.SetActive(true); // 라이더를 다시 킨다
    }
}


///////////////////////////////////////////////


if (Input.GetKeyDown(KeyCode.E)) // 내리는 버튼 누르면
{
    this.lightCtrl.FlashTurnOn_Off(false); //일단 불좀 끄고
    this.lightCtrl.BackLightCtrl(false);
    this.enabled = false; //차 시동 끄고
    this.rideCtrl.GetOffCar(); //위의 차 내리는 함수를 호출
}
___________________________________________________________________________________
Zombie Survival
웨이브형 좀비 탑다운 슈팅 게임
PostProcessing 적용
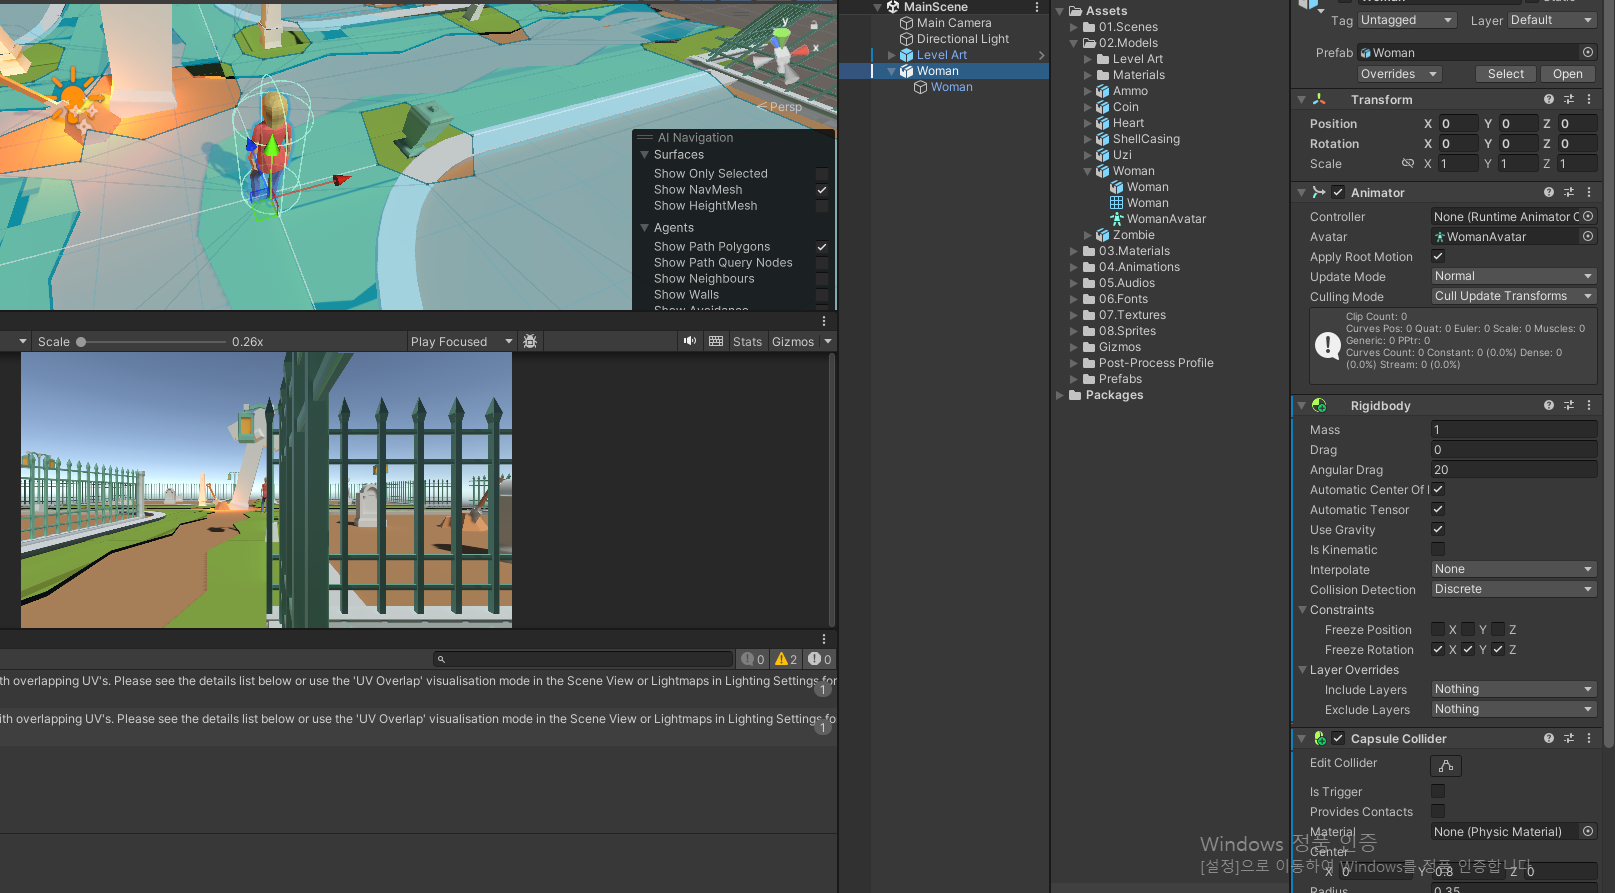
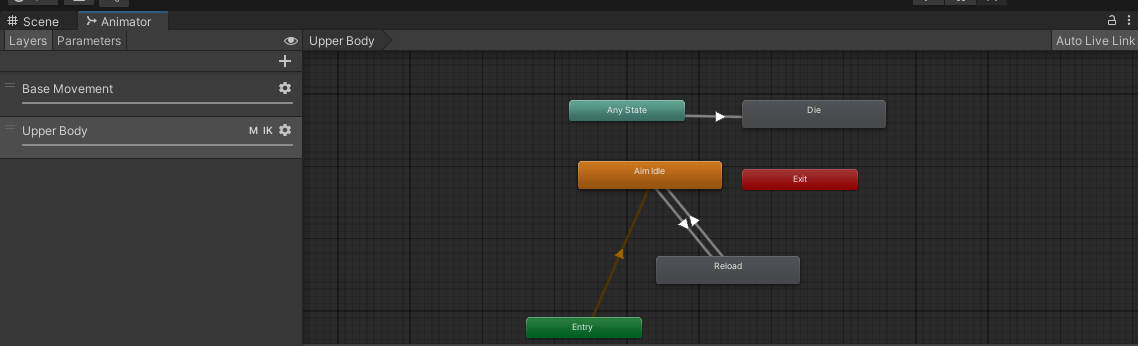
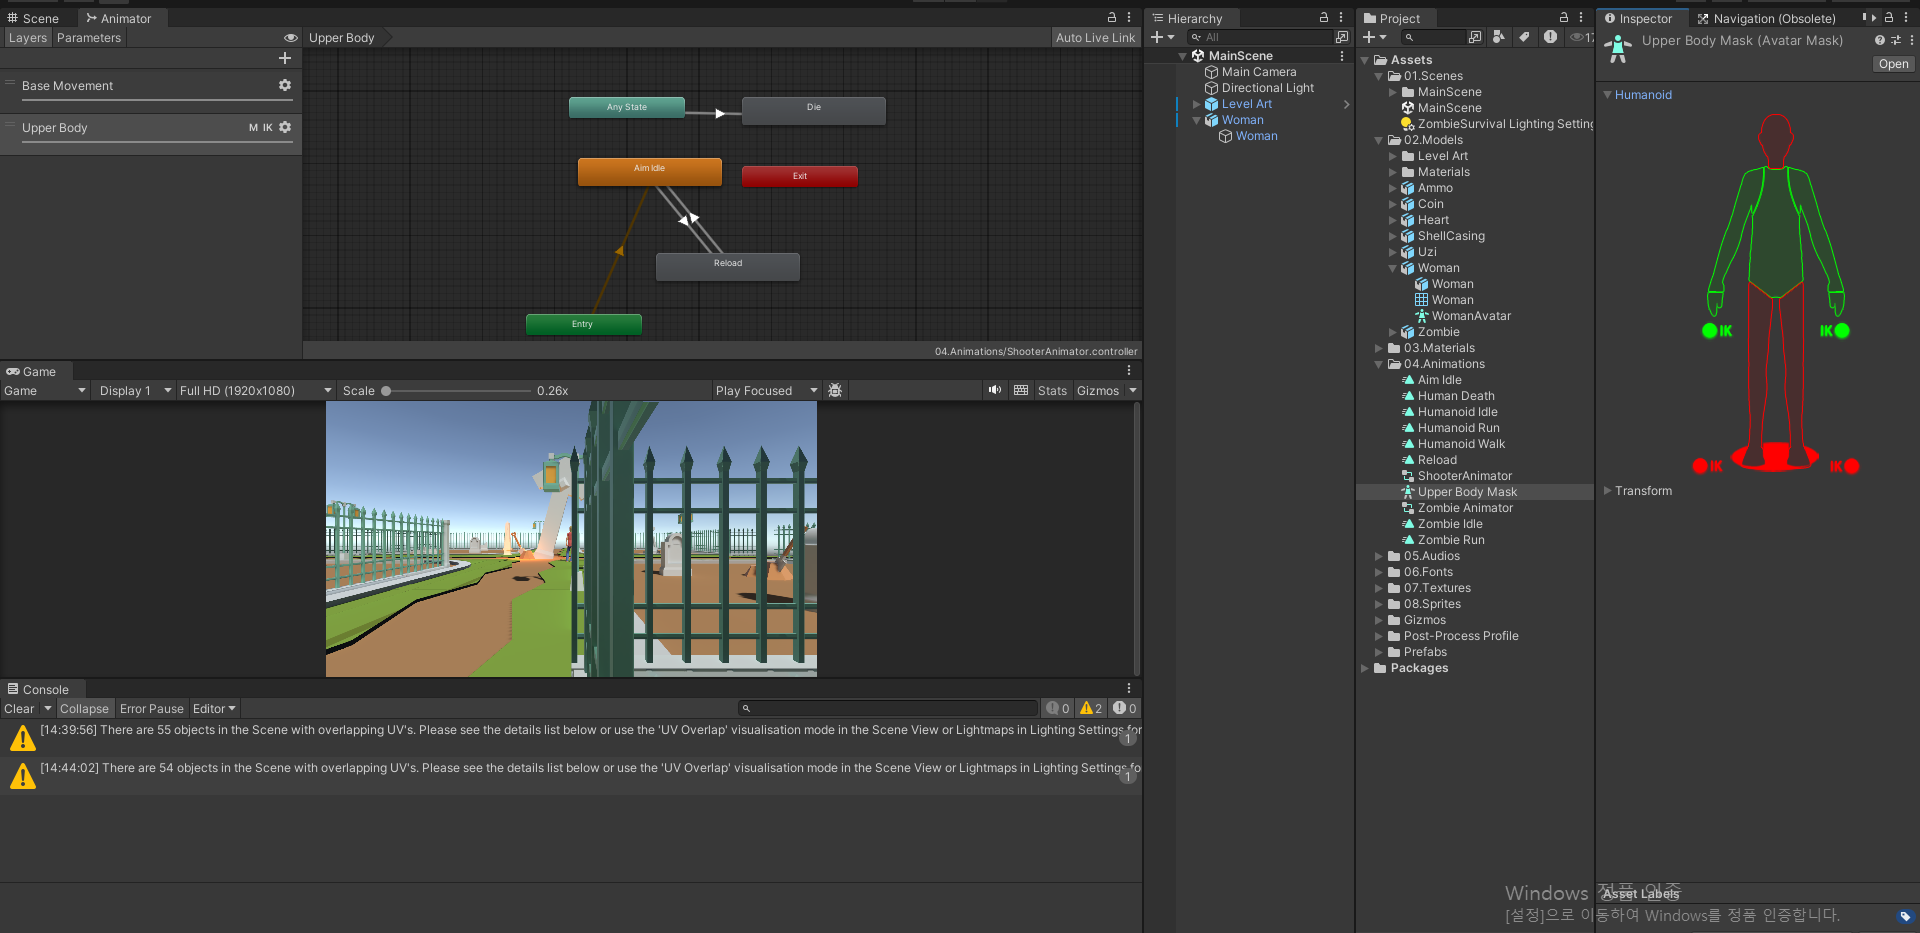
Animator - 레이어가 2개인 모습
using System.Collections;
using System.Collections.Generic;
using UnityEngine;

public class WomanMovement : MonoBehaviour
{
    private Animator anim;
    private Rigidbody rb;
    private WomanInput input;

    [Header("플레이어 스탯")]
    public float moveSpeed = 5f; // 이동 속도
    public float rotSpeed = 180f; // 회전 속도
    void Start()
    {
        this.rb = GetComponent<Rigidbody>();
        this.anim = GetComponent<Animator>();
        this.input = GetComponent<WomanInput>();
    }
    void FixedUpdate() // 실제 이동 부분
    {
         this.Move();
        this.Rotate();
    }
    void Move()
    {
        Vector3 moveDistance = this.input.Move * transform.forward * this.moveSpeed * Time.fixedDeltaTime;
        this.rb.MovePosition(this.rb.position + moveDistance);
    }
    void Rotate()
    {
        float turn = this.input.Rotate * this.rotSpeed * Time.fixedDeltaTime; // 180도 회전
        this.rb.rotation = this.rb.rotation * Quaternion.Euler(0f, turn, 0f); // Quaternion.Euler(0f, turn, 0f) : Y축을 기준으로 회전
    }
}
_________________________________________________________________
using System.Collections;
using System.Collections.Generic;
using UnityEngine;

public interface IItem
{
    void Use(GameObject target);
}
아이템 구현
여러 종류의 아이템을 체크하는걸, 그냥 IItem을 상속중인지로 아이템여부를 체크
using System.Collections;
using System.Collections.Generic;
using UnityEngine;

public class HealthPack : MonoBehaviour, IItem
{
    public int health = 50;
    public void Use(GameObject target)
    {
        Debug.Log("Health Pack used on " + target.name);
    }
}


___________________________________________


using System.Collections;
using System.Collections.Generic;
using UnityEngine;

public class AmmoPack : MonoBehaviour , IItem
{
    public int ammo = 10;
    // Implement the Use method from IItem interface
    public void Use(GameObject target)
    {
        //탄약 추가
        Debug.Log("Ammo Pack used on " + target.name);
    }
}
_______________________________________________________________
총
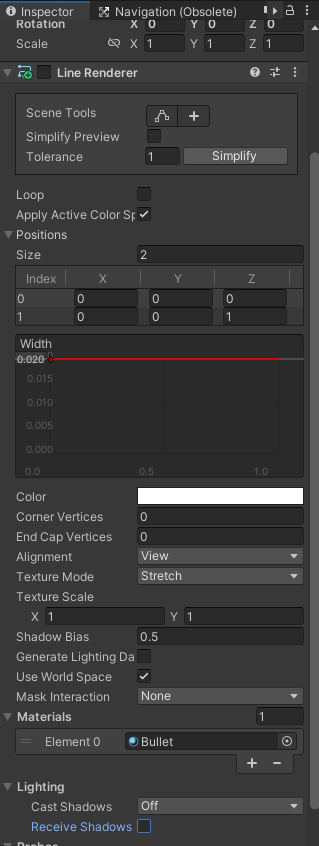
레이캐스트로 쏠 예정
총알 나가는걸 표현하기 위한 Line Renderer
using System.Collections;
using System.Collections.Generic;
using UnityEngine;
using UnityEngine.UI;

[CreateAssetMenu(fileName = "GunData", menuName = "ScriptableObjects/GunData")]
public class GunData : ScriptableObject
{
    public AudioClip shotClip; // 총알 발사 사운드
    public AudioClip reloadClip; // 장전 사운드
    public int damage = 25; // 총의 데미지
    public int magCapacity = 25; // 탄창 용량
    public int startAmmo = 100; // 시작 탄약 수
    public float timeBetweenShots = 0.1f; // 연사 속도
    public float reloadTime = 1.8f; // 장전 시간
    // 추가적인 총 데이터가 필요할 경우 여기에 추가할 수 있습니다.
}
스크립터블로 만들어서 총 구성 내용 작성
'2025유니티수업' 카테고리의 다른 글
| 0708 유니티(좀비 서바이벌 완성 , scope zoom) (0) | 2025.07.08 |
|---|---|
| 0707 유니티(좀비 서바이벌) (0) | 2025.07.07 |
| 0703 유니티(Car) (0) | 2025.07.03 |
| 0702 유니티(RPG 카메라 무빙) (0) | 2025.07.02 |
| 0701 유니티(NavMeshObstacle, 라이트맵, 씬 합치기) (5) | 2025.07.01 |